Fun With MatCaps in KeyShot 6
I was perusing my Pinterest boards last night and came across some stunning bodybuilding photography in one of my Art Anatomy boards. I wanted to see if I could recreate this look, and found a pretty quick and novel way to simulate this with a MatCap experiment.
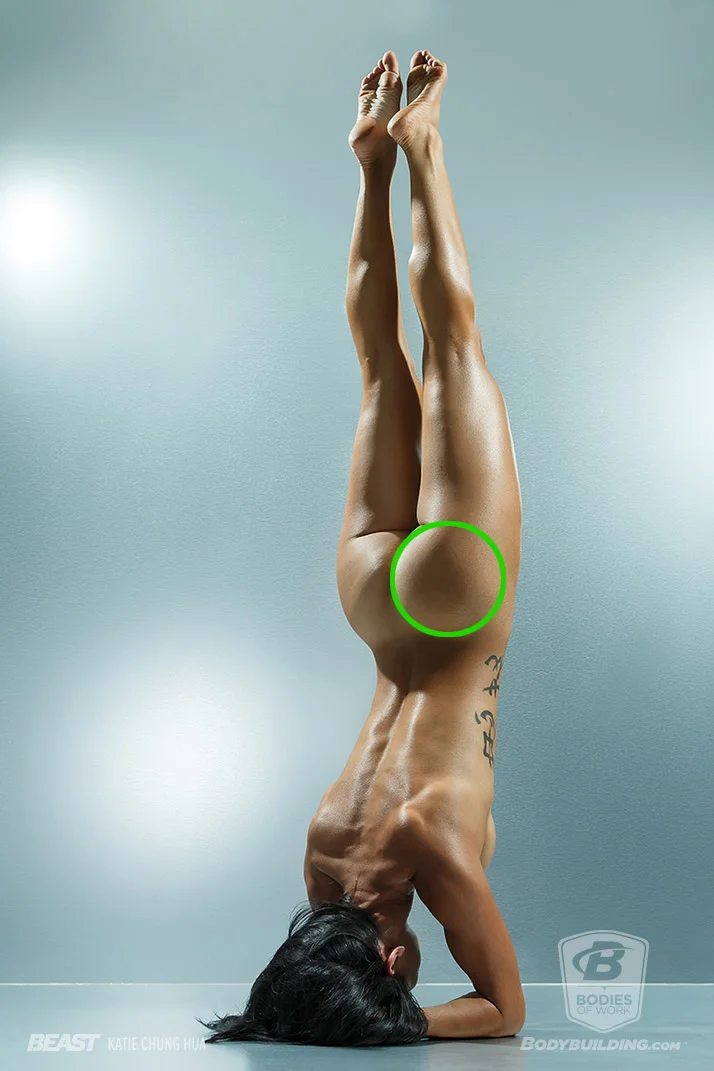
Originally, I was going to try and hand paint the MatCap sphere in Photoshop. However, after searching for areas in the skin tone that would give me a pretty good range to use, it turns out the spherical curve of the buttocks in this particular image exhibited the exact range I was looking for.
The selected region was circle cropped,Gaussian Blur applied, and Curves adjusted to give it some more contrast, then exported as a JPEG.
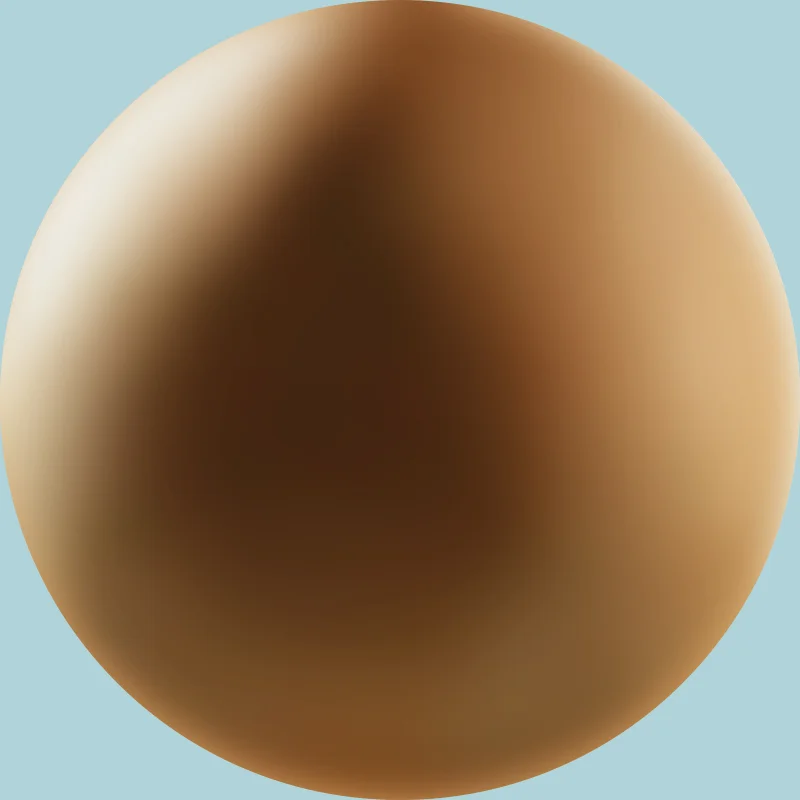
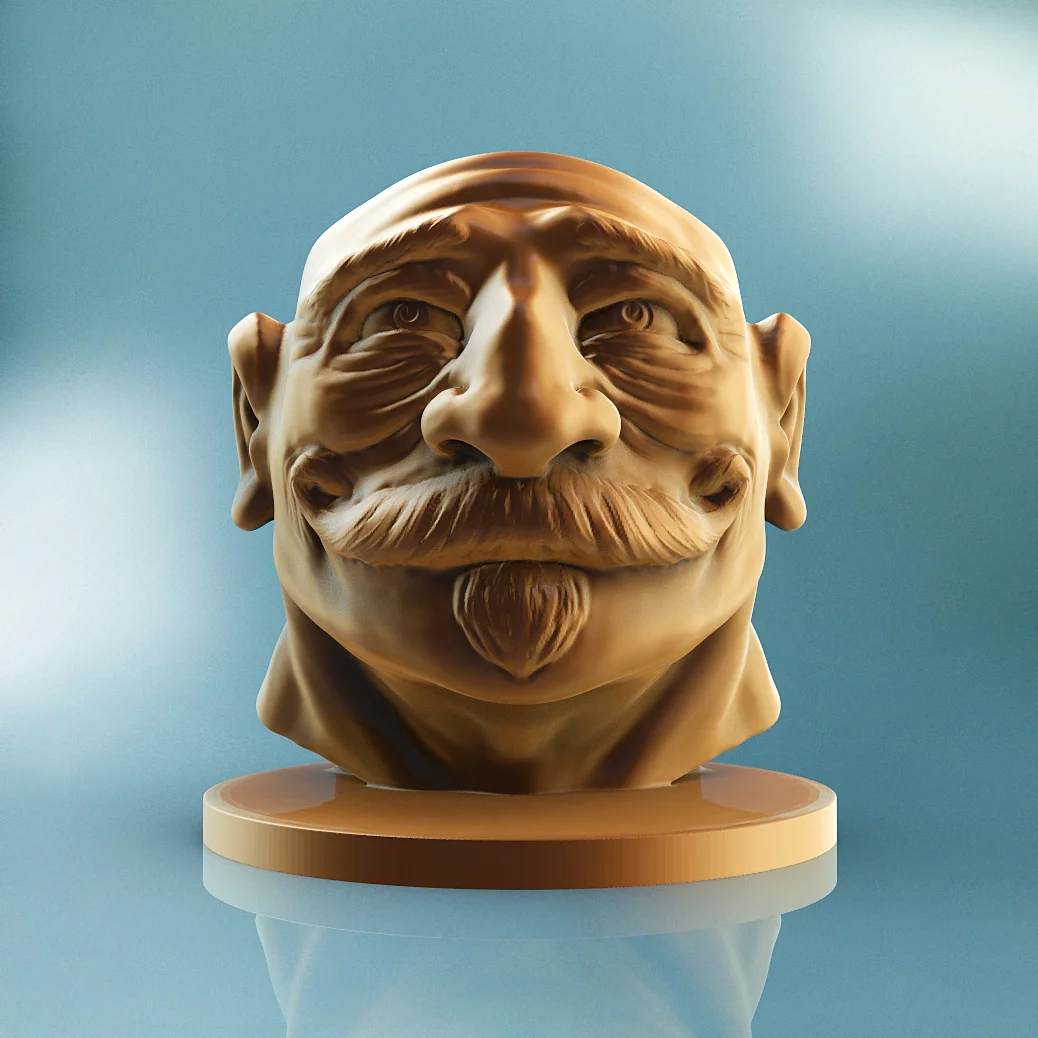
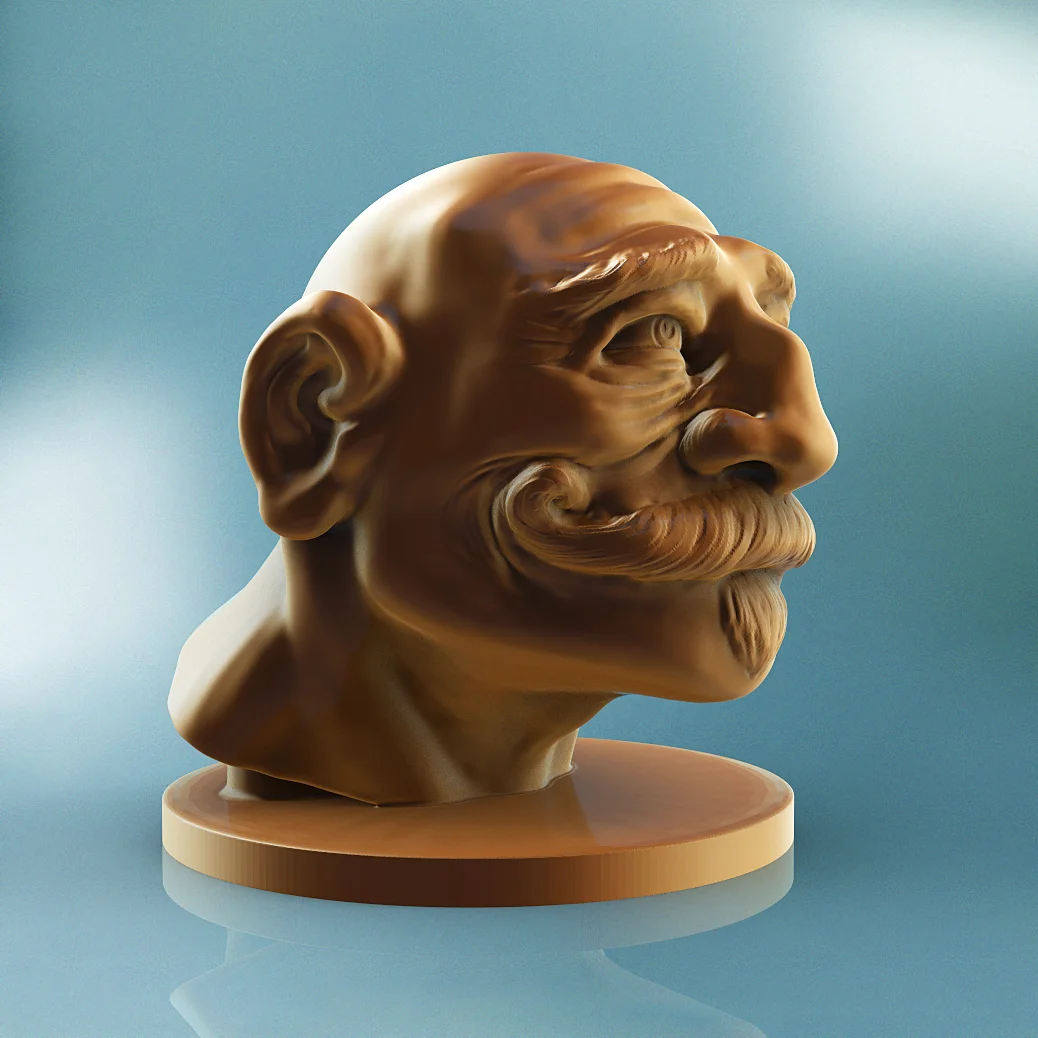
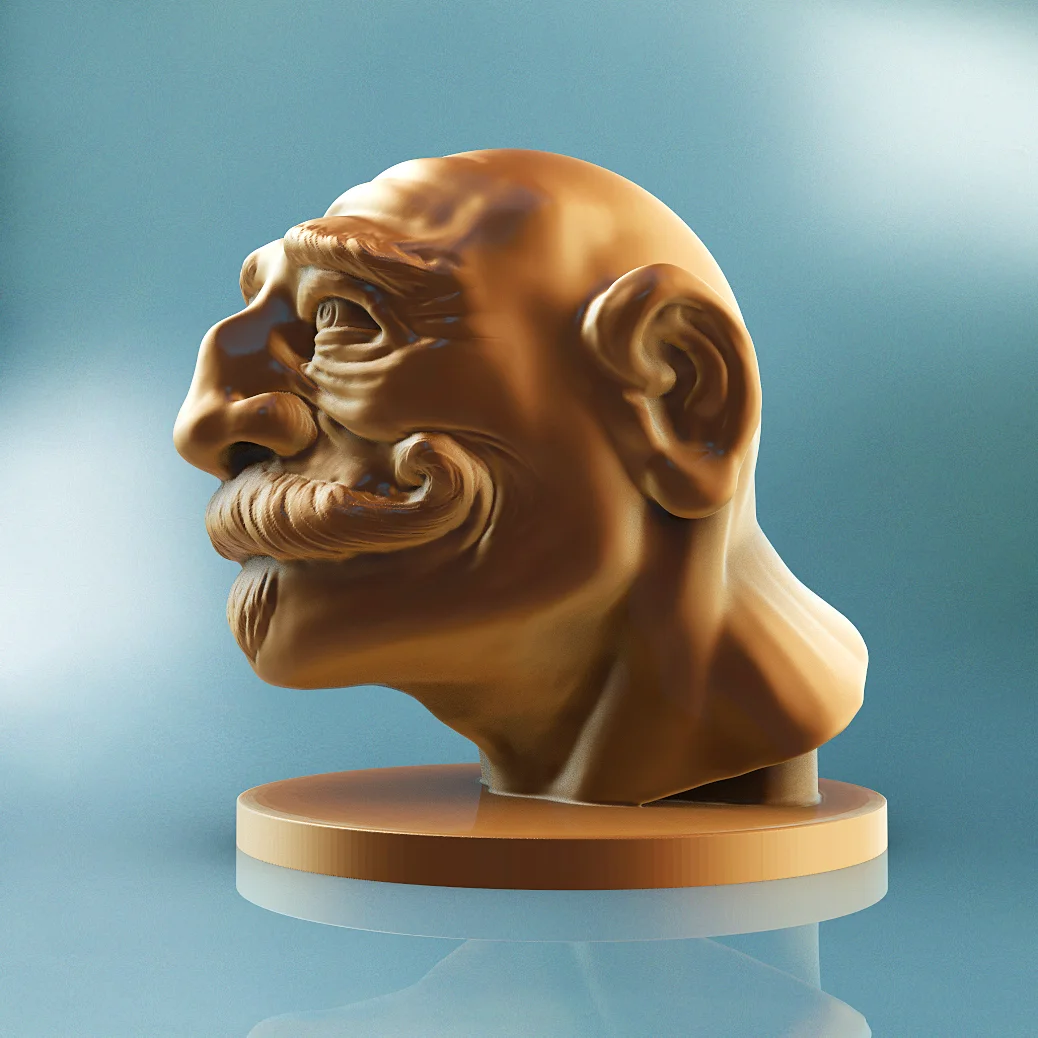
In ZBrush, you can import this as a texture map, apply as a MatCap, then export to KeyShot for rendering. Alternatively, you can do this directly inside KeyShot by assigning the Texture Mapping type to MatCap +VCol, then applying the MatCap image to the Diffuse Texture tab.
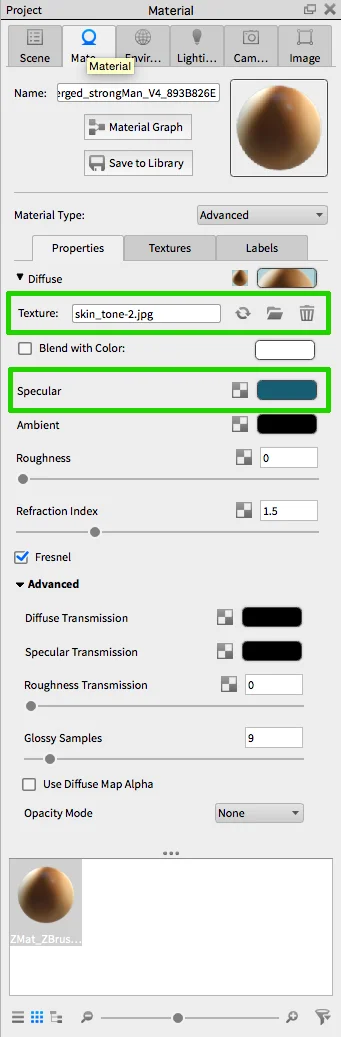
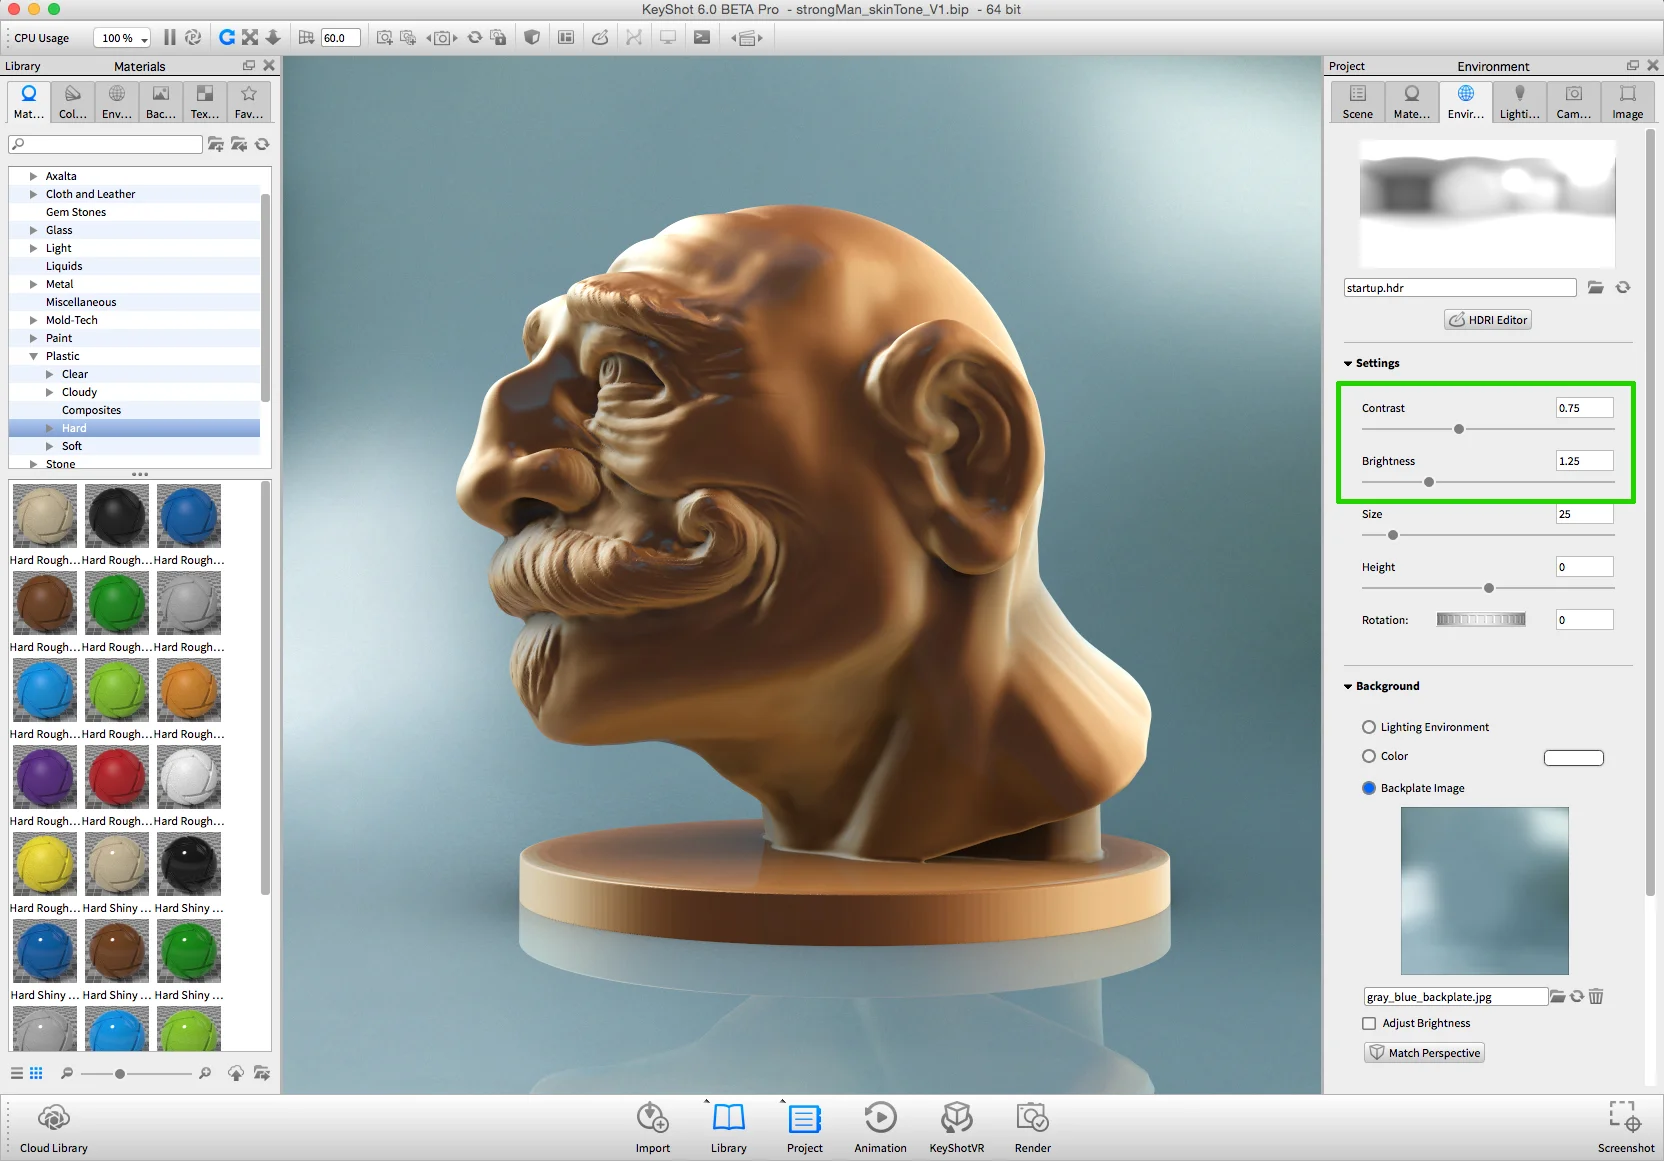
I then adjusted the Specular component to introduce some blue that would complement the custom colored backplate that was generated to match what was in the original photograph.
For the Environment, I simply stuck with the default startup.hdr map and tweaked the Contrast and Brightness to give it a little pop.
Pretty simple if you're needing to crank out some quick concept studies.
Up next when I have time, I will attempt to recreate the actual studio lighting setup. Close observation from professional photography is a great way to learn how to set up your own 3d lighting and renders.